Waxing lyrical – Encaustic part 2

“I’m running a part 2 workshop…” Brian said “are you interested?”

“Am I…sign me up!” I replied

And so I came to be sat in the Encaustic Art Plus workshop (part 2) on a beautiful autumnal monday…did you know, as cold as it is, that winter doesn’t officially start until the winter solstice 21st December?!

I digress…back to Elsecar Heritage Centre, green “pinnie” neatly tied behind me, warm iron waiting and lots more vivid colours calling me from the tin I’m awaiting first instructions from Brian Nelson once again…..

Today’s workshop will build on skills we learned previously and explore other methods and techniques that can be combined to introduce variety to our encaustic painting. We’re going to use stamping and hotplate techniques and I’m excited by the sight of a nugget of gold beeswax lurking toward the edge of the tin…..

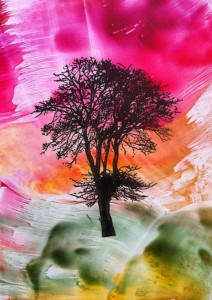
Encaustic Painted Tree

Encaustic Tree

First up, tree inked, stamped and “fixed” with beeswax before overpainting  with the liquid gold that appears as I place my nugget on the iron. My encaustic tree grows beneath something resembling the Aurora Borealis.

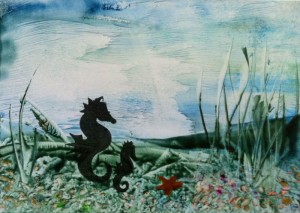
Encaustic painted seahorses

Encaustic Seahorses

A slight change in direction and we’re off to the depths of the ocean. The stylus tool picks out the detail of the ocean floor and a solitary star fish.

Something slightly different next…we dismantle our irons and with all the anticipation and excitement that comes with a child’s Transformer toy they become a personal hotplate.

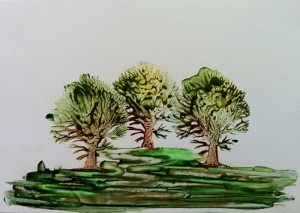
Encaustic painted Forest of three trees

Encaustic Forest

The play of beeswax on the heated surface of the card presents new opportunity and challenge in equal measure.

The introduction of a “palette” to paint from as melted beeswax is transferred via stamps to a second card…reheated to create an opportunity for a wax-drawn forest floor beneath the broccoli like trees.

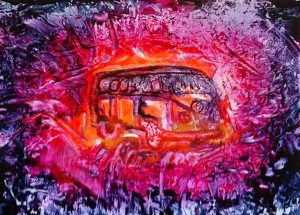
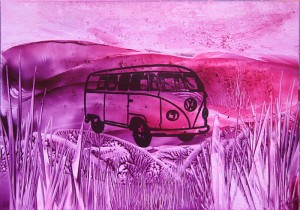
Encaustic painted VW

VW Heaven or Hell


A sheet full of vivid molten wax is transformed when introduced to another stamp…the iconic VW Camper emerges from the molten heat of Hell.

The versatility of this medium and the vibrance of the available colours have warmed another cold afternoon which has passed all too quickly.

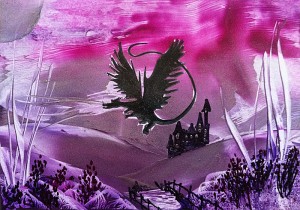
Fortunately there is just enough time left to consolidate all the tools and techniques we have worked with over the two workshops and create our very own encaustic masterpiece, so……………….. Here Be Dragons!

Fantasy landscape with dragon

Here Be Dragons

Thanks again Brian!!

Help! I missed Part 1

Life Drawing Adventures 1

Hurrah! It’s here! Saturday morning and I have a lovely day lined up in a pub in Wakefield. This isn’t going to be like any other day or evening in a pub, where I force myself to imbibe far more alcohol than is good for me, but a life drawing day!

OK, so I am looking forward to having a pint with lunch, but the focus of the day is a luxurious 6 whole hours of life drawing. I haven’t been doing this for long – it’s something I started when I left my job last year, and it’s something I’ve really enjoyed since I decided to give it a try.  It’s strange how people react when you say you’re off to do some life drawing – odd, “knowing” looks and sideways glances and questions like “ooh, aren’t you embarrassed” and “what’s it like”?

What it’s like is a whole day of quiet contemplation – two models, great lighting, a little chit-chat early on and over lunch, but otherwise a peaceful day stood at the easel, listening to quiet music on my i-Pod as I draw what I observe.  OK, so it starts a little less quietly…easel legs creaking into position, pencils rattling and rasping as they are sharpened in eager anticipation, masking tape gently tearing as paper supports are quietly taped to drawing boards and water quietly stirred in jars as everyone sets up their own work space There is something very peaceful and serene about the room once the initial set up is complete.

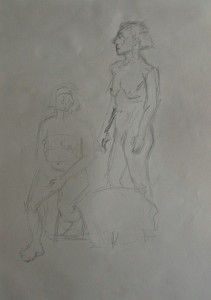
We’ll start with two quick warm up sketches – there is a flurry of activity as the models adopt their first pose and we have 10 mins to “get our eye in” and persuade any tension to leave our bodies to create the space for our creativity to enter.

I start left-handed – my non-domminant hand. The results are “interesting” – out of proportion, crude and quite ugly, but Im already starting to relax and I feel some sense of creative emotion is released in me.

Female nudes sketch 1

Female Nudes sketch 1

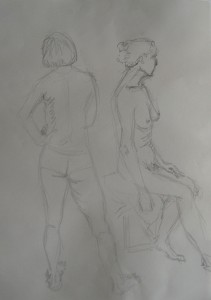
Feeling more relaxed I attach a second sheet to my easel for the second pose – again we have ten minutes to capture the essence of this pose and the juxtaposition of our two models.

Female Nudes sketch 2

Female Nudes sketch 2

Working right-handed this time I’m feeling much more comfortable and confident already. The result this time is a much better proportioned picture and a sketch I will undoubtedly refer to again at some point in the future when looking for inspiration in my painted work. The outside world is almost disappearing completely except for the warm glow of an autumnal sun that brings a halo highlight to the models and a stark contrast of tonal values.

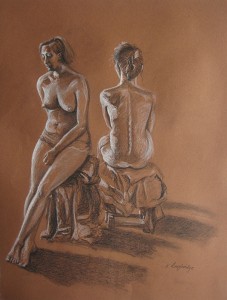
I set myself up for the longer pose that will last for the rest of the day. I love the light texture to the surface of my pastel paper and the warmth of the brown sheet I select from my portfolio.  A close squint at the scene before me and I am able to pick out and capture the deep tonal values with my dark charcoal and the highlights with a white charcoal pencil. Very quickly the scene before me starts to emerge loosely from my paper. Key lines noted in outline I have captured the scene and lunch beckons, including a refreshing pint!

This short break presents a chance to reflect and my decision is made…I will focus on working the detail in this picture for most of the rest of the day. Usually sessions become a race against the clock, but today’s session presents this rare luxury of an opportunity to work a picture with a finer level of detail. The afternoon passes by with relaxed satisfaction and I create a picture that captures the mood and I feel proud of…

Image of two female nudes seated

Two Female Nudes, seated £45.00


Encaustic Adventures

Always keen to learn something new I treated myself to a half day workshop with Brian Nelson at Encaustic Art Plus, Elsecar. I use the word “treat” advisedly! The afternoon was full of fun thanks to Brian’s excellent tuition and the company of him and the other workshop attendees. We were all up and running really quickly with some basic techniques…who would have thought that ironing could be so much fun!!!

My Beeswax colour is selected (I chose to start with vivid) and my iron is set to somewhere in the region of a silk setting. Now I know it is unlikely I will burn myself severely I’m ready to paint.

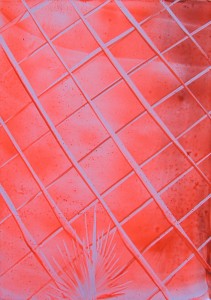
Encaustic painted "Pineapple"

Encaustic painted pineapple

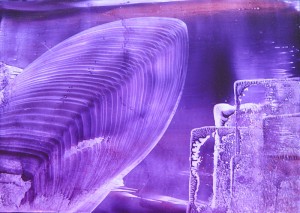
Encaustic painted "Zeppelin"

Encaustic Zeppelin

Spreading a background colour, creating lines using the edge and point of the iron and manipulating the wax using different parts of the sole plate.

I have carved wax before, but encaustic painting is completely different – liquid, runny and far less predictable than wax in its solid state, but it’s interesting to work with less control.

Further experiments produce interesting effects in beautiful, vibrant colours, enhanced when lightly polished with a soft cloth:

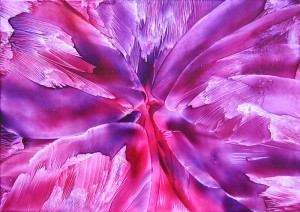
Encaustic painted "butterfly wings"

Encaustic “Butterfly Wings”

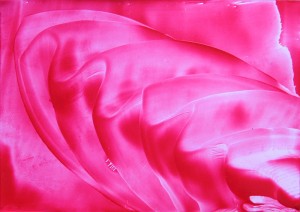
Encaustic painted "raspberry ripple"

Encaustic “Raspberry Ripple”


A few more experiments with colour and technique and we are ready to move on to more complex techniques that will enable us to create landscapes . This is the moment we had all been waiting for! First, a simple landscape:

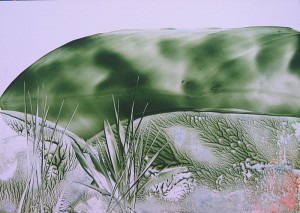
Encaustic painted "Green Landscape"

Encaustic “Green Landscape”

Using only one colour, but with a small residue from the previous picture,  placing and dragging the iron creates a background “mountain”.

Placing and lifting the iron in the foreground creates the sense of depth and the effect of foliage. The  side of the iron carves out the meadow grass. This feels really satisfying!

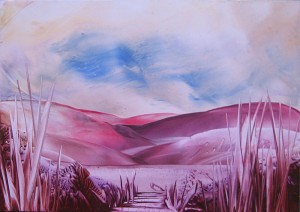
With a little more colour, thought and skill we are able to introduce a whole mountain range in the background. A body of water is created in the mid ground and a pathway through the foliage in the foreground to the lake beyond.

Encaustic painted "Purple Landscape"

Encaustic “Purple Landscape”

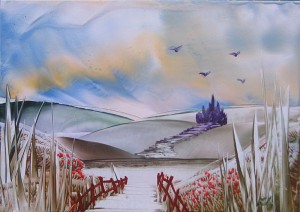
With the introduction of the stylus tool we can add fantasy castles, fences, flower heads and picket fences…this is a real revelation!

Encaustic painted "Magic Kingdom"

Encaustic “Magic Kingdom”


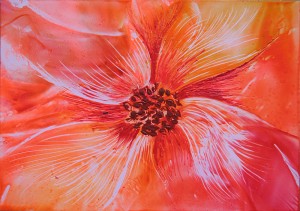
And finally we are introduced to the scraper tools and stamps – the opportunity to add finer detail to the finished images.

Encaustic painted Flower

Encaustic painted flower

Encaustic painted VW camper van

Encaustic VW Camper


It’s refreshing to work in a different medium once in a while and I have thoroughly enjoyed this fluidity of this particular adventure.

Note to self: remember to save for further encaustic adventures